
The City of York Embroiderers' Guild is making a wallhanging for the Folk Hall in New Earswick, York to represent the groups that meet there. I have been making the panel for the Can-Do Crafts group. My brief included the size of the panel, that it should be landscape in orientation and that it must include the group's name. Apart from that, I had free rein. I spoke to textile artist, Deborah New, who took the group in 2019/2020 to find out what the group had been making. It sounded like a great group to be part of - they'd tackled weaving, patchwork, felting, simple embroidery and stitching and other textile based crafts. Deborah also promoted the use of recycling and upcycling in her teaching to make best use of resources. (If you like the sound of Deborah's style, she is teaching a Hand Stitched Fabric Robins workshop on Zoom with York Learning on 28 November 2020. You can find out more here.)
 |
| Blue/black denim base fabric |
|
In keeping with Deborah's recycling ideas I used some blue/black denim from an old pair of jeans as the base fabric and hoped to use scraps and leftover fabrics, threads and yarns for everything else.
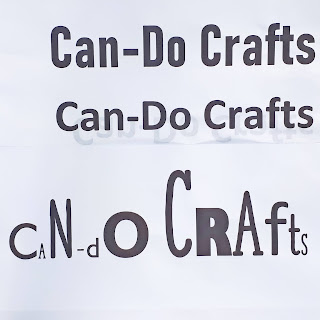 |
Various Fonts
|
Starting with the group's name, I printed it out in a number of different fonts and sizes to see what would work with the panel size - something quite tall and not too wide was what I was looking for. It turned out that Bahnschrift Condensed fitted the bill! The printed out font acted as a template for the letters. Next, using scraps of colourful patterned fabrics I ironed on bondaweb, a double sided fabric adhesive with a paper backing. Then using the printed letters that I had already cut out, I reversed them, placed them on the bondaweb paper backing, drew round them and cut them out.
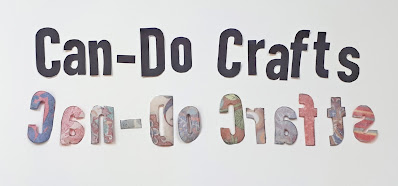 |
| Font Template and Cut Out Bondawebbed Letters |
These were then ironed onto the base denim fabric after the paper backing had been removed. I had zigzagged the edges of the denim panel to stop them fraying and had stitched a line round (to be removed later) beyond which I didn't want to go when adding the rest of the design so that it wouldn't get lost in the seams. I allowed a little more than the seam allowance to be on the safe side.
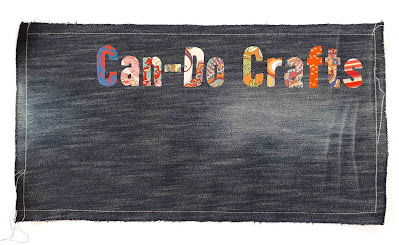 |
Lettering Ironed in Place
|
I had chosen 3 of the techniques the group had learned to make small pieces to be part of the panel - weaving, patchwork and felting...
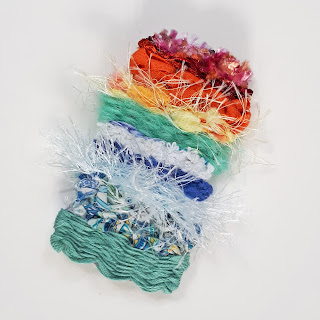 |
Weaving
|
 |
| Patchwork |
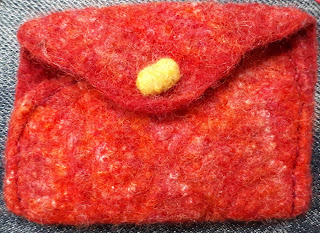 |
Small Felted Purse
|
Also, I thought it would be nice to add some text to the piece mentioning some of the techniques used. This was done as though it was the thread coming out of a needle. To make the needle, I ironed some bondaweb onto the back of a scrap of silver fabric and drew a needle shape, which was then cut out, ironed on and machine stitched in position. Using tailors chalk I roughly drew a line where I wanted the stitching to be and set off. I had a practice go on a spare bit of denim that helped me decide how to place the words.
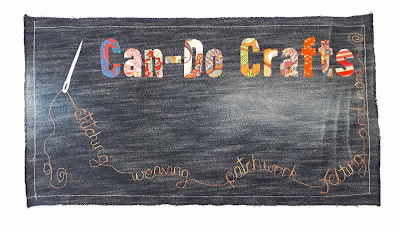 |
Wording Complete
|
After that, I machine stitched round the letters of the group's name twice, and stitched the three sample pieces in position. The patchwork piece was machine stitched on. The weaving sample was hand sewn in position and the felt purse was attached with a combination of the two. As a final touch I added some simple embroidery stitches - chain stitch and cross stitch, that the group might have used in their work. Finally I took out my stitching guidelines round the edge and the panel was complete...
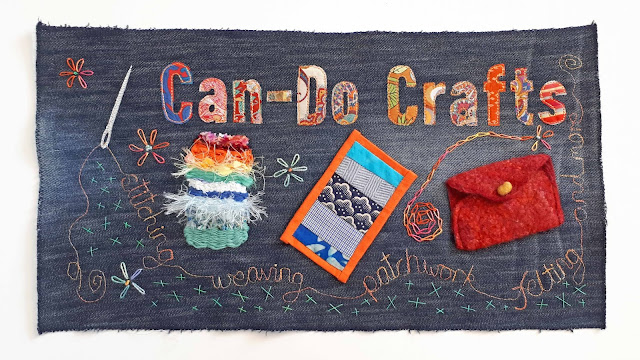 |
Finished Panel for the Can-Do Craft Group
|
And now it's on its way to join the other panels.

.jpg)
.jpg)
.jpg)
.jpg)
.jpg)
.jpg)
.jpg)
.jpg)
.jpg)
.jpg)
.jpg)
.jpg)
.jpg)
.jpg)
.jpg)
.jpg)
.jpg)
.jpg)
.jpg)
.jpg)
.jpg)
.jpg)
.jpg)
.jpg)


